
Securing Your Azure Applications: Step-by-Step Guide to Using Azure Key Vault with Azure Functions
When using Azure Cloud and deploying applications, whether they are Functions, Containers, or Web Apps, most of the time the application will require environment variables to function.
Adding environment variables through the Azure web portal is quite simple, and it works well. However, in some cases, environment variables are sensitive and should not be directly accessible from the Azure portal from the application’s page.
This is where Azure Key Vault comes in. Azure Key Vault is a service for managing secrets, keys, and certificates in Microsoft Azure. It securely stores and manages sensitive information such as passwords, API keys, certificates, and other confidential data.
Let’s assume that we have already created a Key Vault and a Function App (see credits for more details). We will use Function App, but the process is largely the same for other Azure resources.
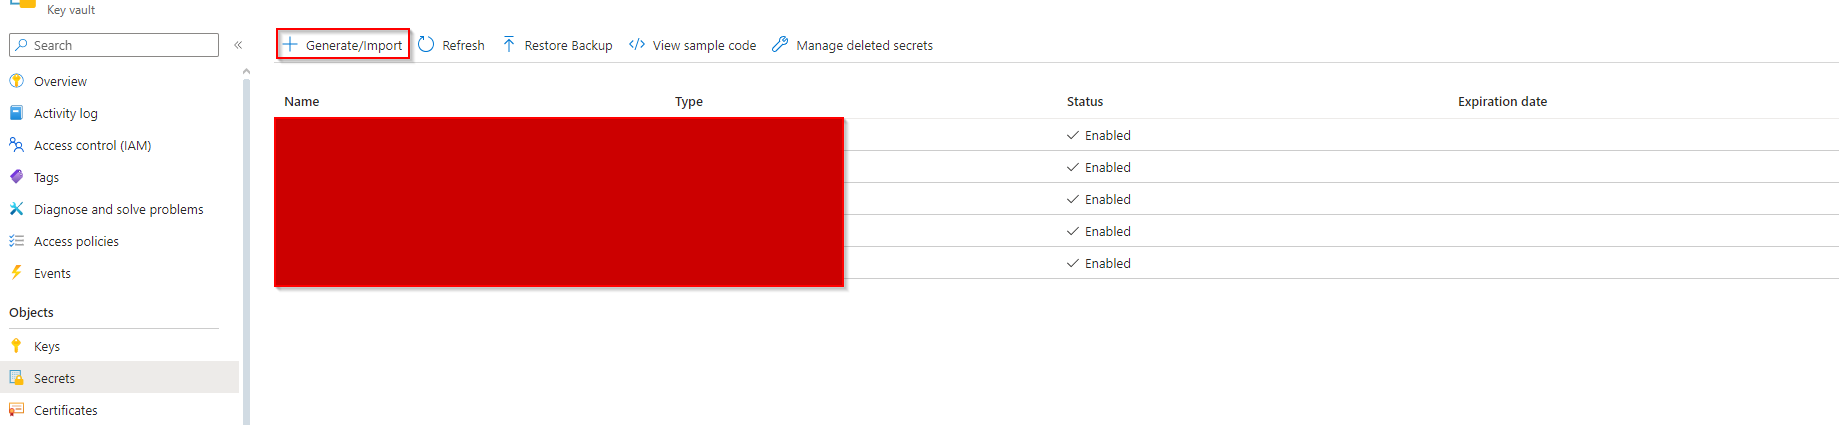
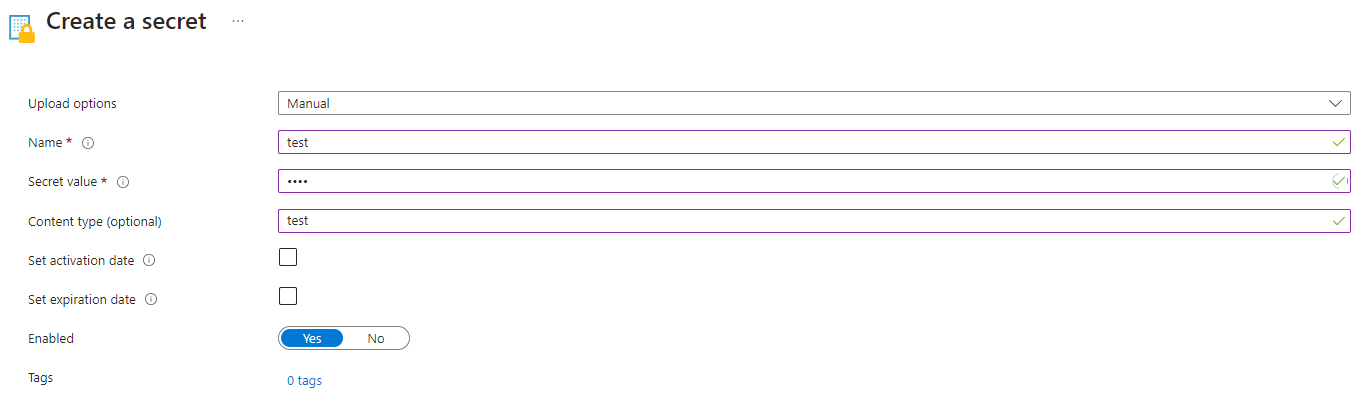
1 - Add a secret to our Key Vault
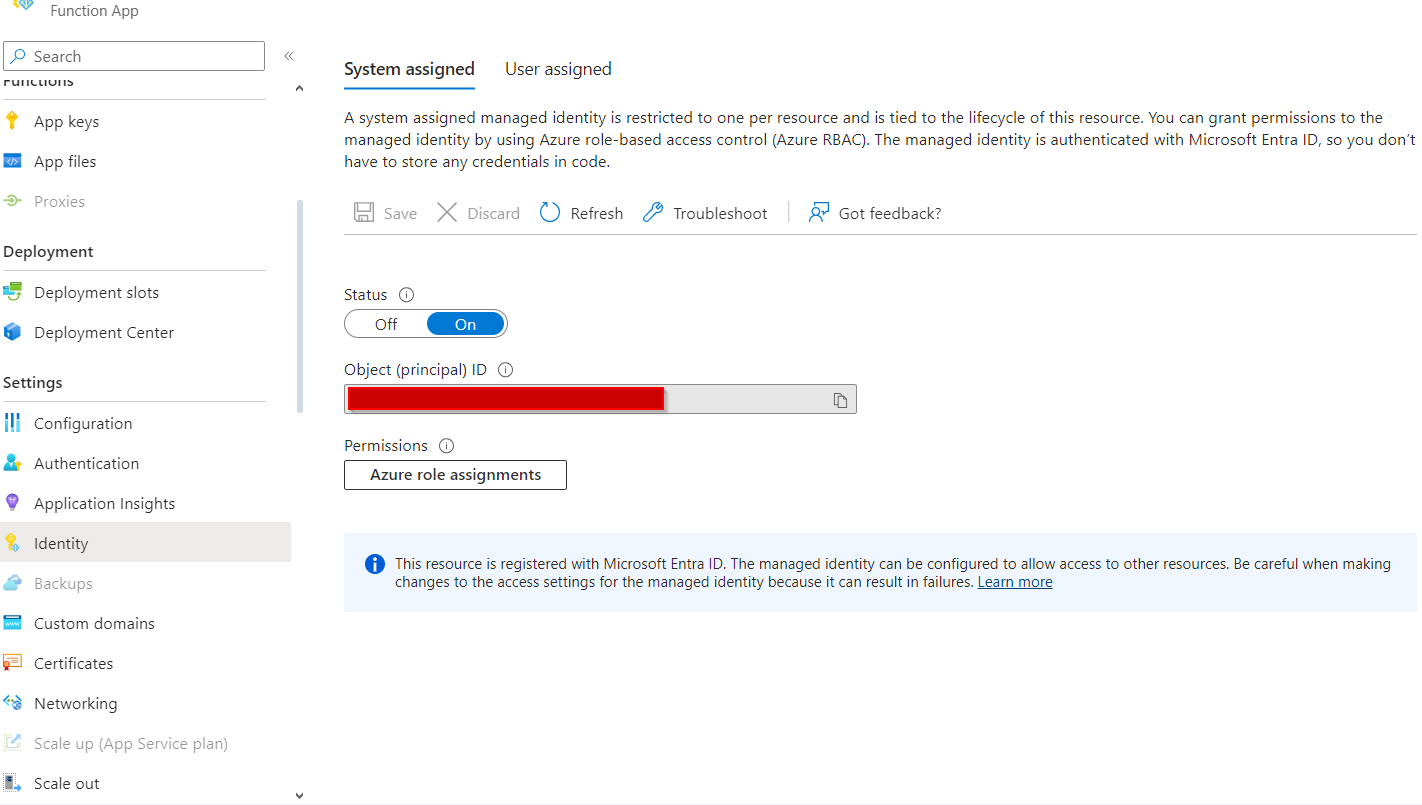
2 - Activate managed identity in the Function App.
A managed identity in Azure is a service that simplifies and secures the authentication of Azure resources by providing them with an identity managed by the platform, eliminating the need to manually manage credentials. In other words, it allows us to give an identity to our applications and grant them rights to our various Azure resources.
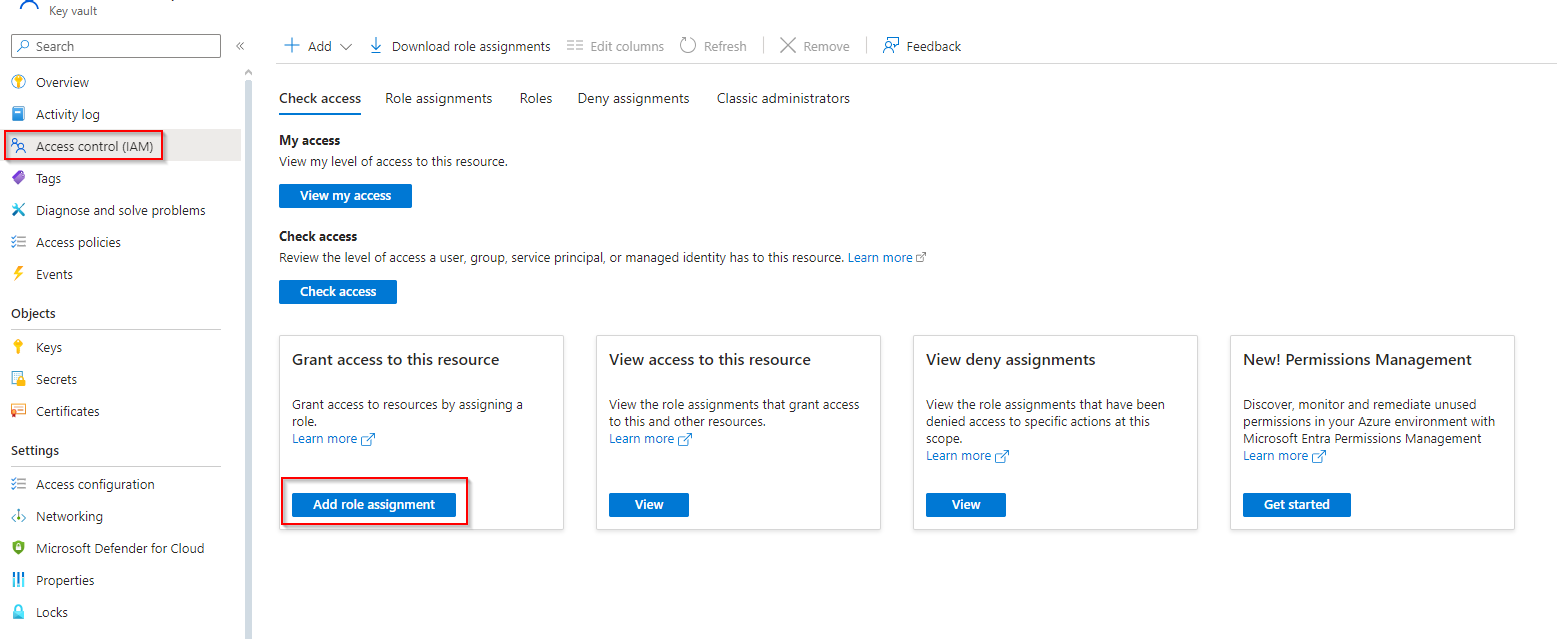
3 - Add a role to our application
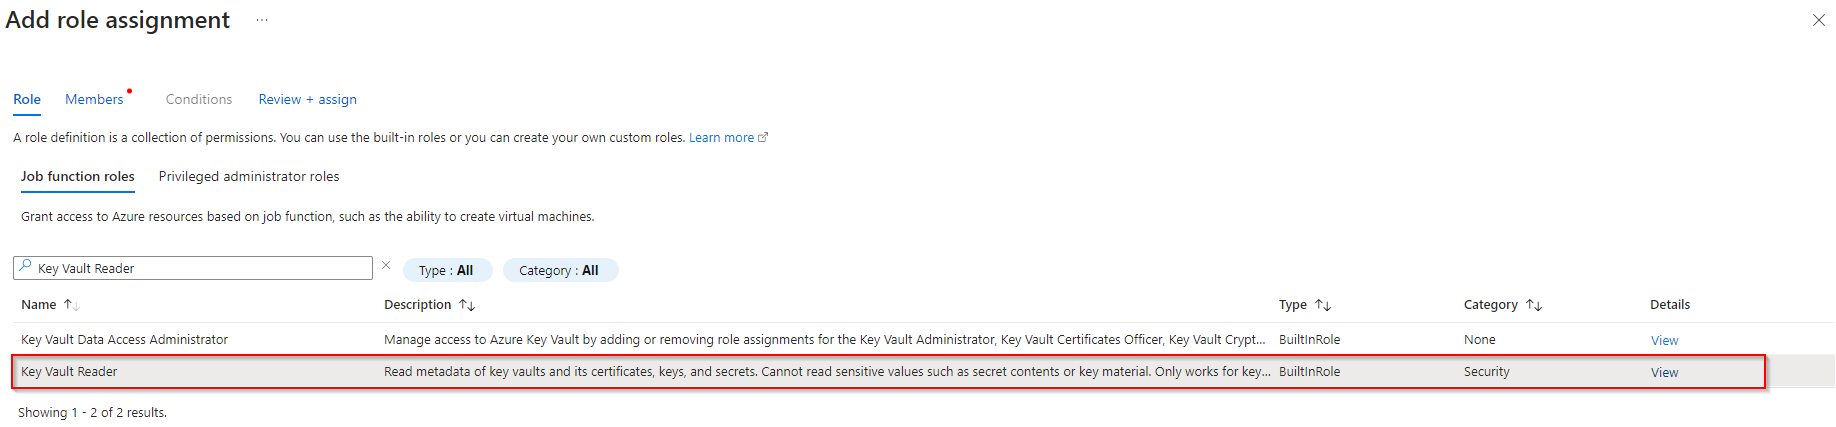
We need to add a role to our application. To do this, we need to go back to our Key Vault. We go to IAM and click on add role assignment.
We need to choose a role that suits our needs. All roles that provide read access to the secret can be used. However, this does not adhere to the principle of least privilege in cloud security. Therefore, we should choose the role that only grants necessary access, in this case, read-only access to secrets.
So, we will choose the Key Vault Secrets User role:
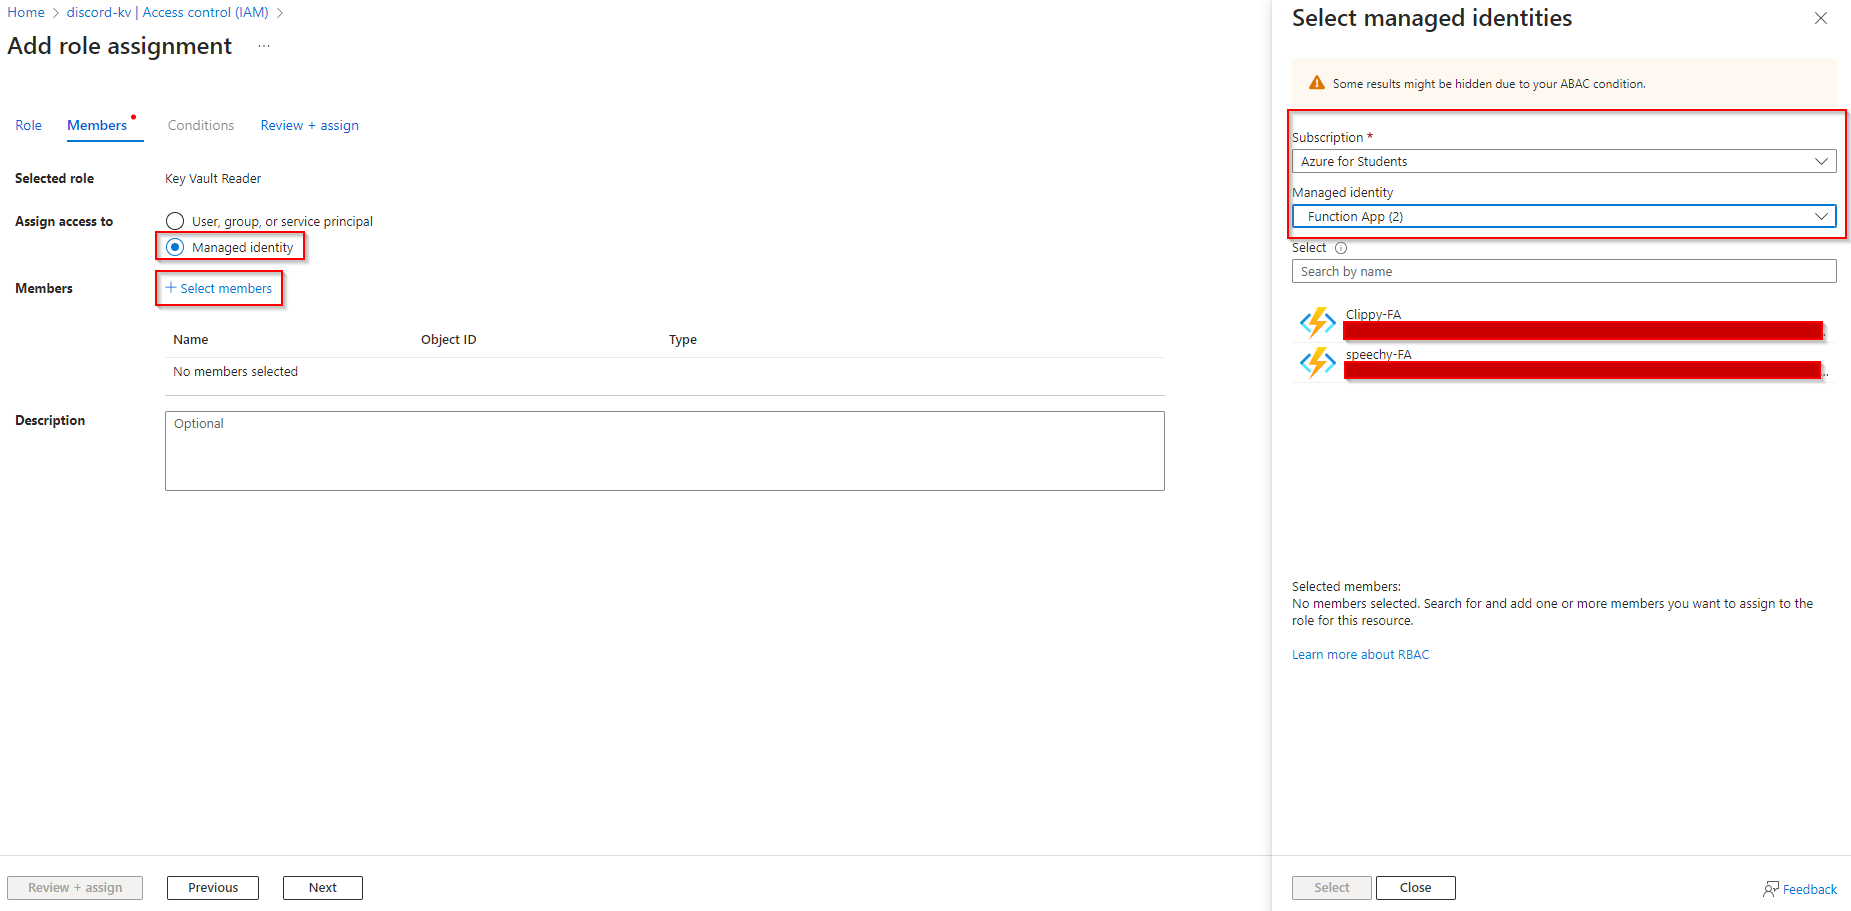
We now need to choose the corresponding managed identity for our application and add the application we want to grant access to:
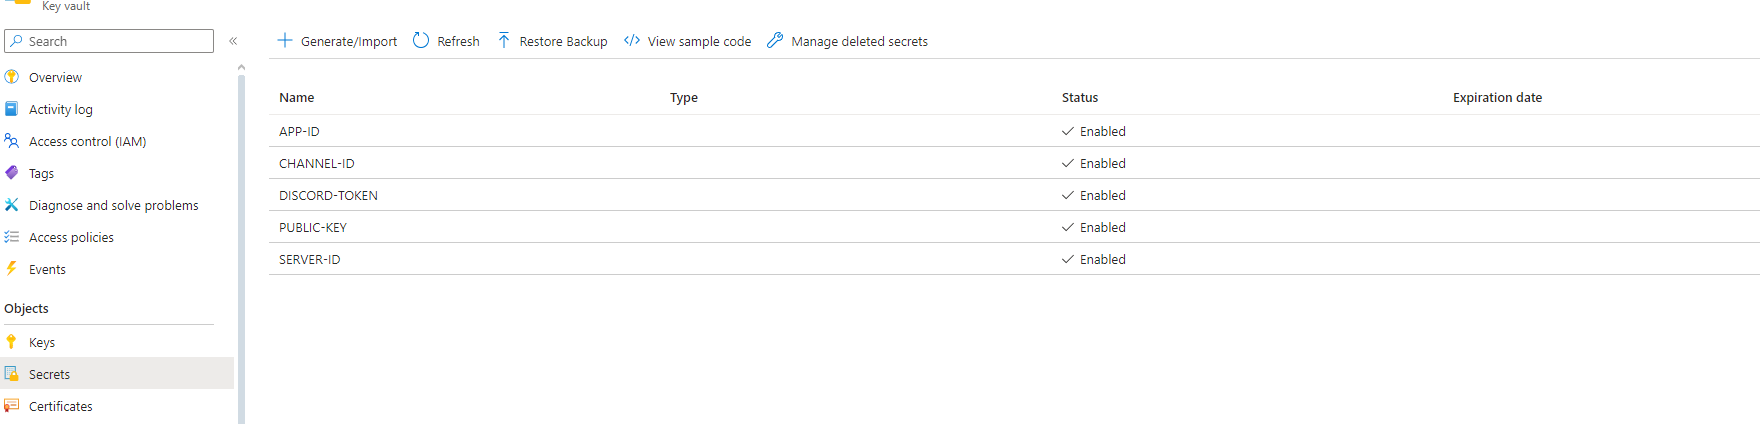
4 - Add secrets to the application
We select the secret we want to add to our application:
We choose the desired version and copy the Secret Identifier:
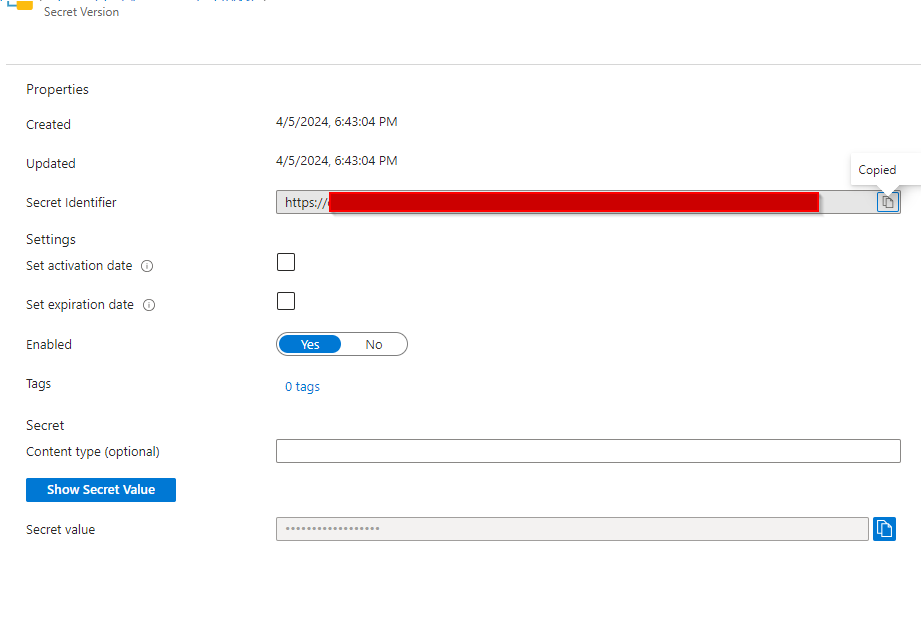
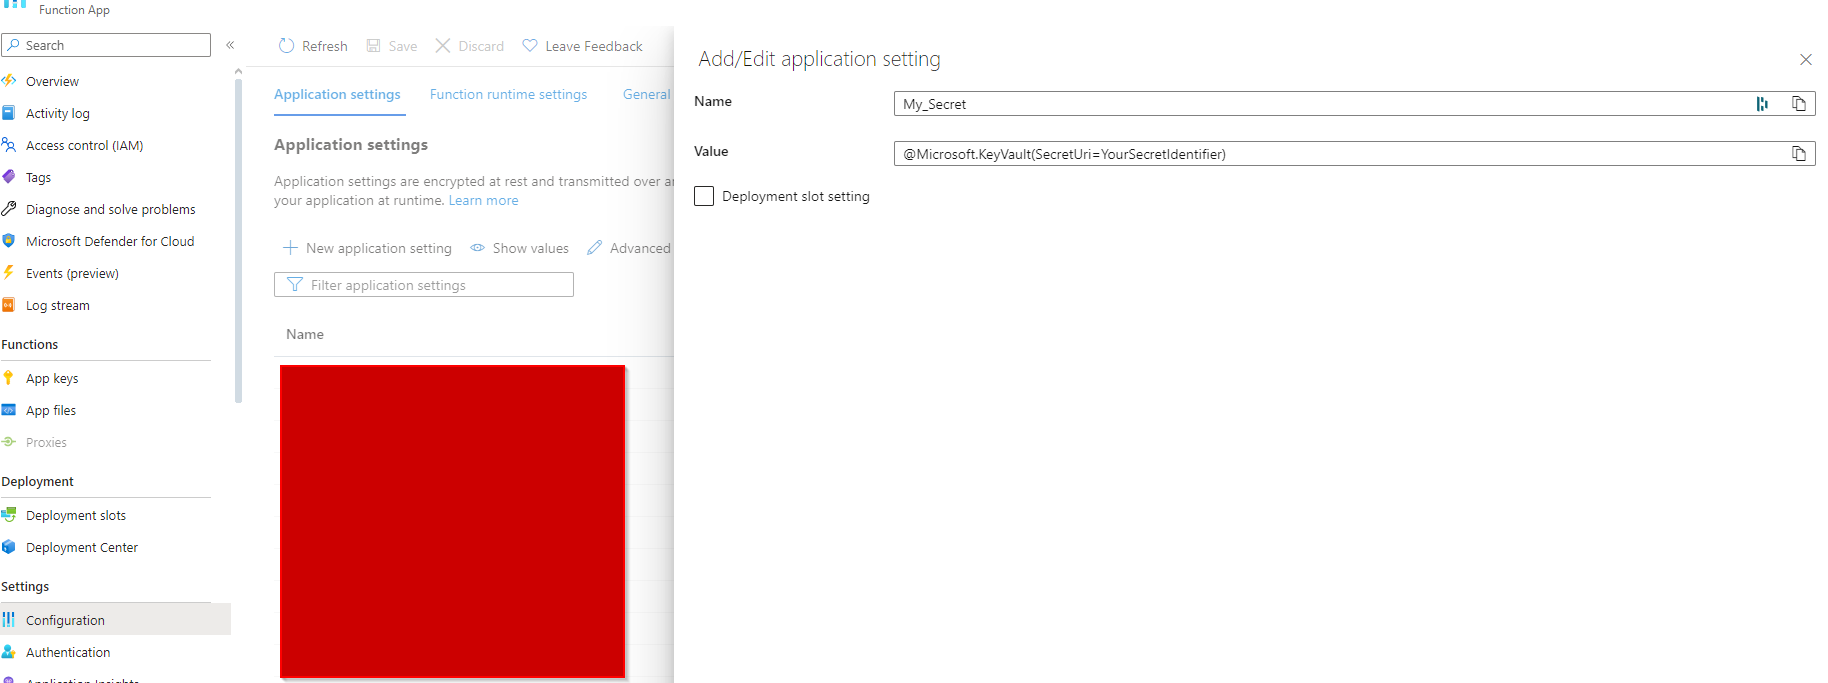
We go back to our Function App in the configuration tab. Simply add this: @Microsoft.KeyVault(SecretUri=YourSecretIdentifier)
Conclusion
And there you have it! You have just added an environment variable to your application from your Key Vault!
Credits
Create a managed identity: https://learn.microsoft.com/en-us/entra/identity/managed-identities-azure-resources/tutorial-windows-vm-access-nonaad
Create a Key Vault: https://learn.microsoft.com/en-us/azure/key-vault/secrets/quick-create-portal